

How hard could it be? I'd seen so many chair makeover tutorials that I figured all I had to do was pop off the bottom, replace the fabric, staple a few things and screw it all together. Simple...or so I thought.
What I didn't realize is that this was no ordinary chair...this was a chair with a multi-layered-diy-past.
Layer 1 was a semi-cute (albeit dingy) fabric with double welt cord. I just discovered what double welt cord was after this project.

Layer 2 had a more traditional look. I'd guess early 90's??

Layer three was the surprise layer. This is when I discovered that I had a converted cane chair on my hands. My first attempt at recovering a chair was taking a negative turn. I was as shocked as the famous Prairie Dog:
Actually I was more shocked at the amount of teeny, tiny nails I was going to have to remove, but there was no turning back. I was invested at this point.

I tried a few different tools to help remove the nails including a 5-in-1, a flathead screwdriver and a chisel. In the end, the 5-in-1 Painter's Tool worked best for me.


Once the nails were removed, I had to decide how I was going to recover the cushion. I had thought about using plywood for the seat, but I decided to follow the direction of the previous owner. I was off to the fabric store to pick up fabric, spray paint, foam, cotton batting and adhesive spray.
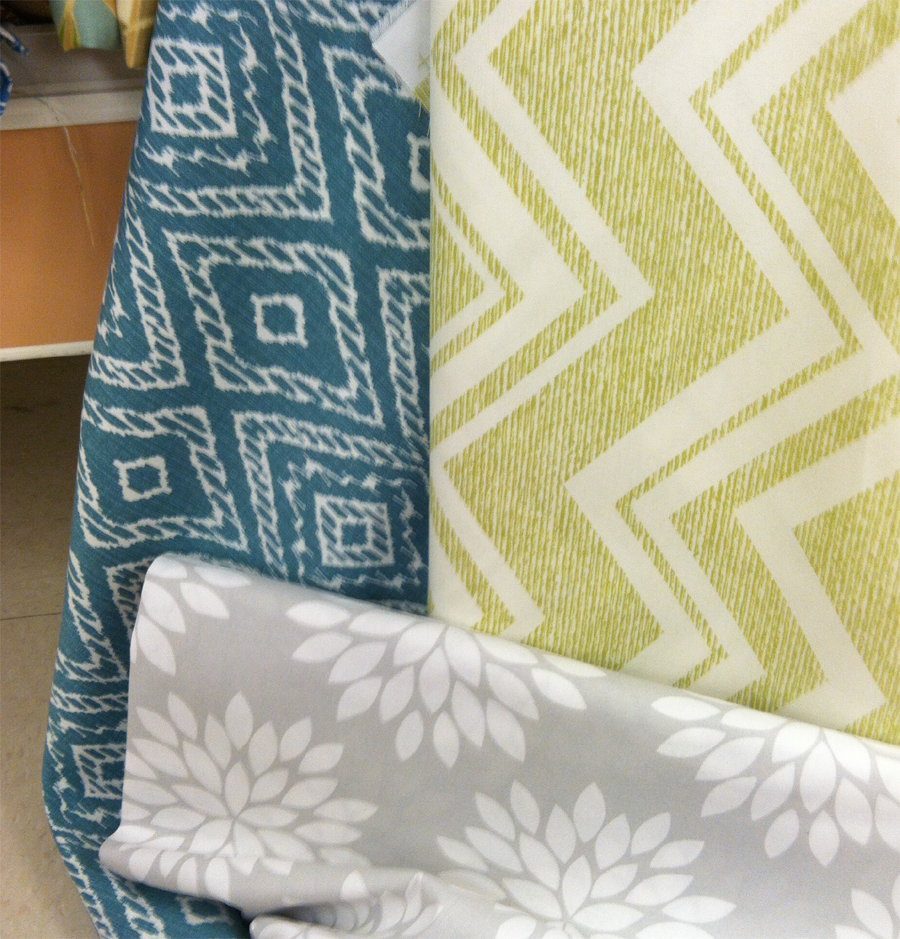
I picked an outdoor fabric for the cushion since it's a bit heavier. Bonus: JoAnn's outdoor fabrics were 50% off and there were so many adorable choices! I ended up using the blue Ikat print to match the bedding in the guest room/craft room.
I primed and painted the chair a glossy white.


Now onto the cushion. I bought a 2" piece of foam and used the old seat stuffing as a guide to cut it down to size.


My mother-in-law provided a good tip. Apparently the best tool for cutting foam is an electric carving knife. Since we don't own one, we used a bread knife which also worked pretty good.

For the next few steps, I followed a great tutorial on Design Sponge here.
I used the spray adhesive to bond the batting to the the foam.
Next I centered the foam on the fabric in the part of the pattern that I wanted to show. I cut allowing for 4" of excess fabric on each side. 4" was a bit excessive, but I wasn't taking any chances on my first attempt!


After placing the fabric where I wanted it, I began the fun part of the project. Enter the staple gun!
Tip: pull the fabric taut and place the first staples in the middle of the cushion. Then continue stapling around the cushion.


Next, I trimmed the excess fabric.

For the final steps I followed several good tutorials on double welt cord here, here and here. Once I had created my double welt cord, I used my glue gun to adhere it to the base of the cushion. It is a great technique to help cover the staples and any other little mistakes.


Here's the finished product:


Not too bad for my first attempt and it looks pretty cute with my desk that I can finally use now!


PS - We picked up the piece of glass at IKEA. It was a near perfect fit!
