Friday, December 5, 2014

Quick & Easy Nativity Makeover

A little over a year ago, my dad was cleaning out his house and put together a box of "things I might want." Usually I pass, but I saw that he was getting rid of the porcelain, Nativity set that had been displayed in our home for as far back as I can remember. My mom loved it as it was part of her 1980 Home Co. collection. We were fancy. 

It was a piece of nostalgia for me and I wanted to display it in my home, but I needed a quick and easy way to bring it into the 21st Century.

The answer: spray paint! I've seen several bloggers use spray paint to give all sorts of figurines a completely new look. The Nativity was a perfect candidate for a spray paint makeover.

Here's the gang before their makeover:

First, I sprayed them with a couple of coats of RUST-OLEUM primer.

I wanted a modern look, so I chose a white paint with a satin finish. I just so happened to have a can of KRYLON spray paint in the basement, so it made the decision pretty easy. 

The statues required 2-3 coats for an even coverage (they had a lot of nooks and crannies).

Once the paint dried, they were ready to display. So easy!

I'm so happy with the end result. I have the Nativity set from my childhood, but it feels brand new! A little paint can make quite a difference.

This post is part of the link party at www.remodelaholic.com

Tuesday, November 25, 2014

Napoleonic Blue Chalk Painted Dresser


So I took an unexpected hiatus, but for great reasons.. Two pretty awesome things have been occupying a lot of my time lately. I am happy to say that I have an exciting new job and a new puppy! Please meet the newest member of our household, Hercules:


Seriously? Look at that face! And good thing he's adorable because that first month of training was rough! We have a sock thief in the house.

Needless to say, a lot of my DIY projects were put on hold, but I'm happy to be back at it. All of a sudden I am completely motivated and inspired - it's a great place to be!

Over the summer, my friend Emily had posted a ton of photos of her furniture makeovers using Annie Sloan Chalk Paint. Inspired by Emily, and Pinterest, I decided to join the chalk paint movement on a dresser that we garbage picked from our neighbors.*

*We waited for our neighbors to leave before moving in on the dresser all stealth-like. Geoff and I were both too embarrassed to pick it up while our neighbors were home!

The dresser was pretty beat up. The varnish was chipped and peeling. There were large scratches everywhere, but I loved the shape and figured it would be a great piece for my first attempt at chalk painting.

I chose Annie Sloan Chalk Paint in Napoleonic Blue for the color. I had been admiring deep, blue dressers with brass hardware for quite some time and wanted one of my own. 

I bought a quart of paint at a local retailer. The paint is pretty expensive, but a little goes a long way. Luckily, Emily let me borrow her can of Clear, Soft Wax instead of having to buy that too. There's also a Dark Wax that is made for an antiquing affect. I just used the Clear Wax for this project.

I looked up a few tutorials online and texted Emily for guidance. For the most part I painted the same way I do with other paints. 

What I do love about using chalk paint is the amount of prep time you save. All I had to do was remove the hardware and clean the dresser. No sanding, no priming, the paint dries quickly, and no strong paint fumes. Plus it really covered all of the dresser's major imperfections.

The color was a bit bold before it dried. I referred to it as "Grover Blue." Here is the dresser with one coat of paint:

See. It's a bit Grover-esque..

http://muppet.wikia.com/wiki/Grover's_Mommy
I looked for any excuse to post this amazing Grover photo. You're welcome.

Back to the dresser - Emily assured me that it would dry quickly and a few shades darker. 

It would also need another coat of paint.


I decided that I wanted a few areas of the dresser to be a bit "roughed up." I used sand paper to expose the wood in strategic areas. The picture below also shows the paint color a day later. It's definitely a darker, matte finish before applying the wax.

I used a sock to apply the wax and thought I would have to buff with it too, but Geoff surprised me with a Ryobi buffer! This man loves any reason to buy a new tool.

Here's what the color looks like after applying the Soft Wax and buffing:

Oh so pretty!

I really loved the original hardware, but unfortunately I was unable to salvage it. Most of the handles were broken. :(  I did a few online searches and settled on these brass handle pulls by Liberty (Amazon here).

The dresser is now in its temporary home in the dining room where it can double as a buffet/bar. Here's the finished piece - yay:


My favorite part about using this paint was the fact that this dresser only took me two days to paint and wax. I am so happy with my new dresser/buffet/bar!

For more inspiration, be sure to check out my friend Emily's Facebook page, Bohemian Treasures. Here's just one of her beautiful pieces:

I party with Remodelaholic

Monday, August 11, 2014

Cane Chair Makeover

I was on the hunt for a smaller chair to use at my newly restyled waterfall desk. I found this little chair in my neighborhood's garage sale for 10 bucks! It fit perfectly and I was eager to attempt my first chair makeover.

How hard could it be? I'd seen so many chair makeover tutorials that I figured all I had to do was pop off the bottom, replace the fabric, staple a few things and screw it all together. Simple...or so I thought.

What I didn't realize is that this was no ordinary chair...this was a chair with a multi-layered-diy-past.

Layer 1 was a semi-cute (albeit dingy) fabric with double welt cord. I just discovered what double welt cord was after this project.


Layer 2 had a more traditional look. I'd guess early 90's??


Layer three was the surprise layer. This is when I discovered that I had a converted cane chair on my hands. My first attempt at recovering a chair was taking a negative turn. I was as shocked as the famous Prairie Dog:


Actually I was more shocked at the amount of teeny, tiny nails I was going to have to remove, but there was no turning back. I was invested at this point.


I tried a few different tools to help remove the nails including a 5-in-1, a flathead screwdriver and a chisel. In the end, the 5-in-1 Painter's Tool worked best for me.

Once the nails were removed, I had to decide how I was going to recover the cushion. I had thought about using plywood for the seat, but I decided to follow the direction of the previous owner. I was off to the fabric store to pick up fabric, spray paint, foam, cotton batting and adhesive spray.

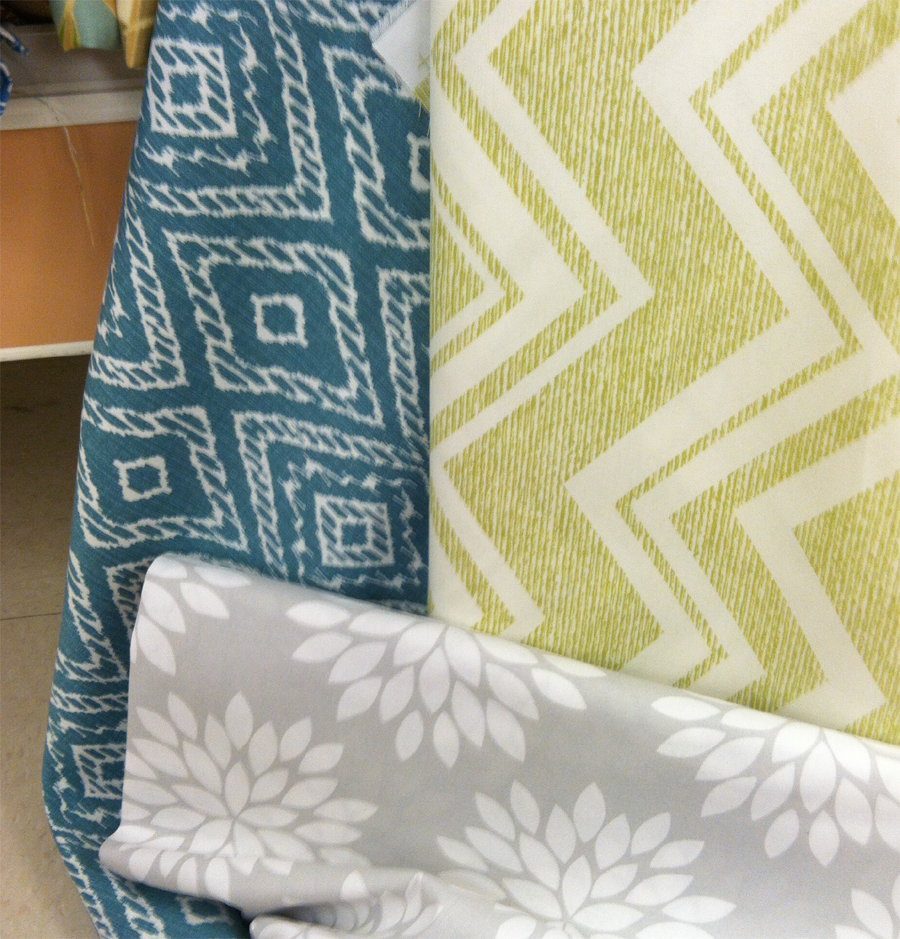
I picked an outdoor fabric for the cushion since it's a bit heavier. Bonus: JoAnn's outdoor fabrics were 50% off and there were so many adorable choices! I ended up using the blue Ikat print to match the bedding in the guest room/craft room.


I primed and painted the chair a glossy white.


Now onto the cushion. I bought a 2" piece of foam and used the old seat stuffing as a guide to cut it down to size.

My mother-in-law provided a good tip. Apparently the best tool for cutting foam is an electric carving knife. Since we don't own one, we used a bread knife which also worked pretty good.

For the next few steps, I followed a great tutorial on Design Sponge here.

I used the spray adhesive to bond the batting to the the foam. 

Next I centered the foam on the fabric in the part of the pattern that I wanted to show. I cut allowing for 4" of excess fabric on each side. 4" was a bit excessive, but I wasn't taking any chances on my first attempt!


After placing the fabric where I wanted it, I began the fun part of the project. Enter the staple gun!

Tip: pull the fabric taut and place the first staples in the middle of the cushion. Then continue stapling around the cushion.


Next, I trimmed the excess fabric.


For the final steps I followed several good tutorials on double welt cord here, here and here. Once I had created my double welt cord, I used my glue gun to adhere it to the base of the cushion. It is a great technique to help cover the staples and any other little mistakes.

Here's the finished product:


Not too bad for my first attempt and it looks pretty cute with my desk that I can finally use now!


PS - We picked up the piece of glass at IKEA. It was a near perfect fit!  


blogger template by lovebird